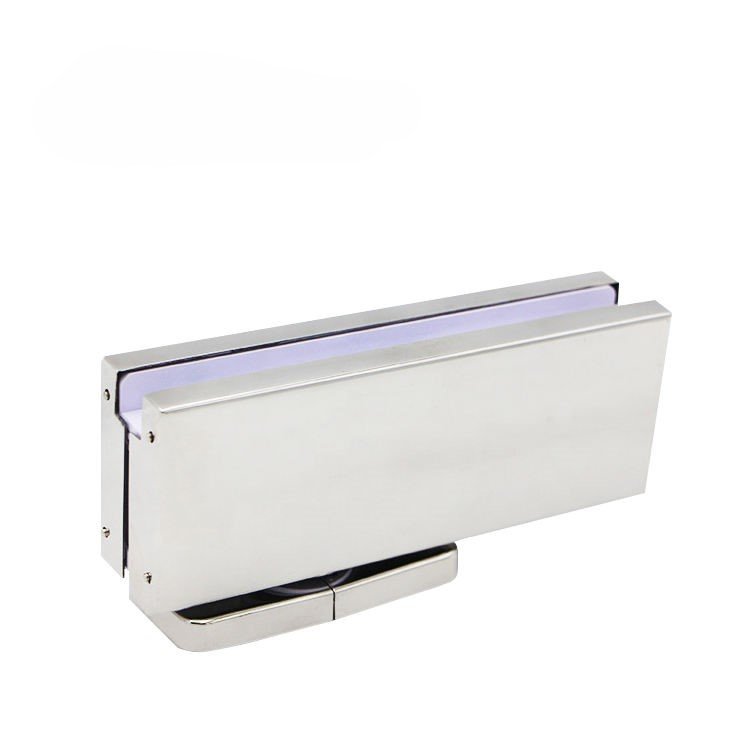
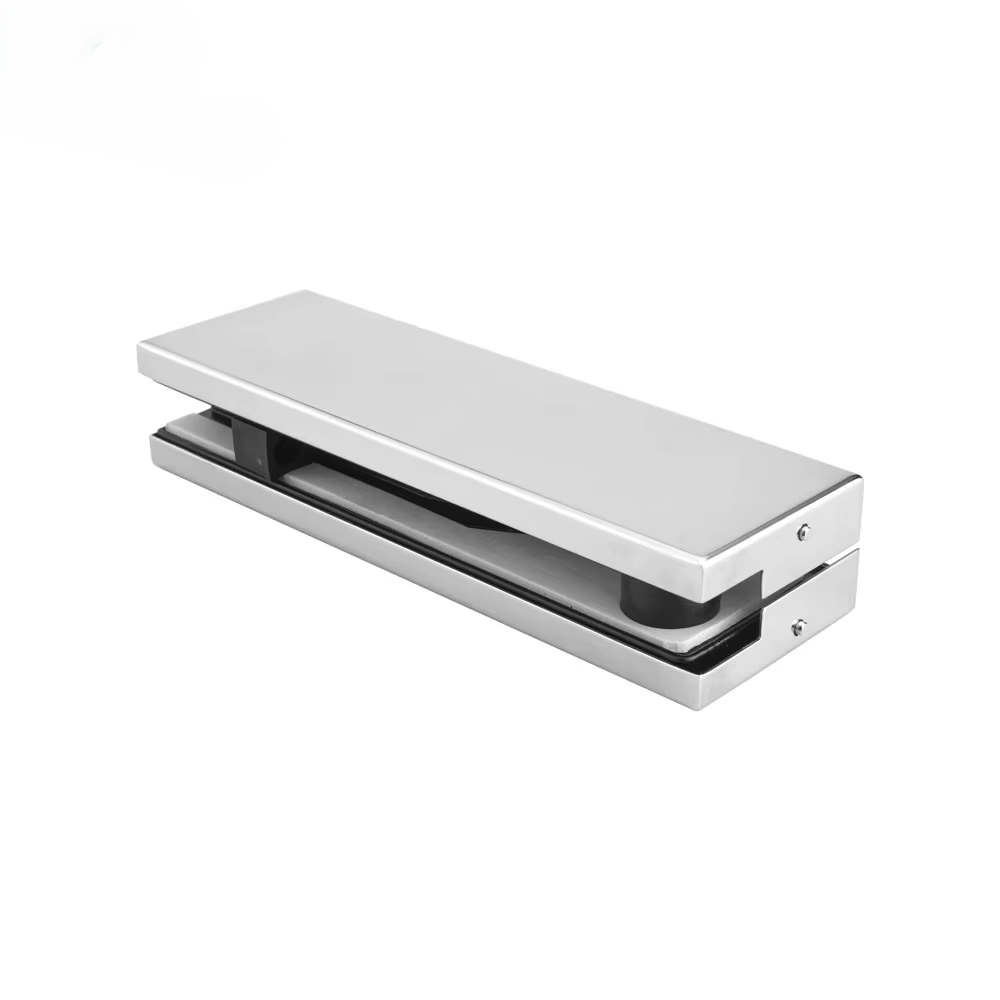
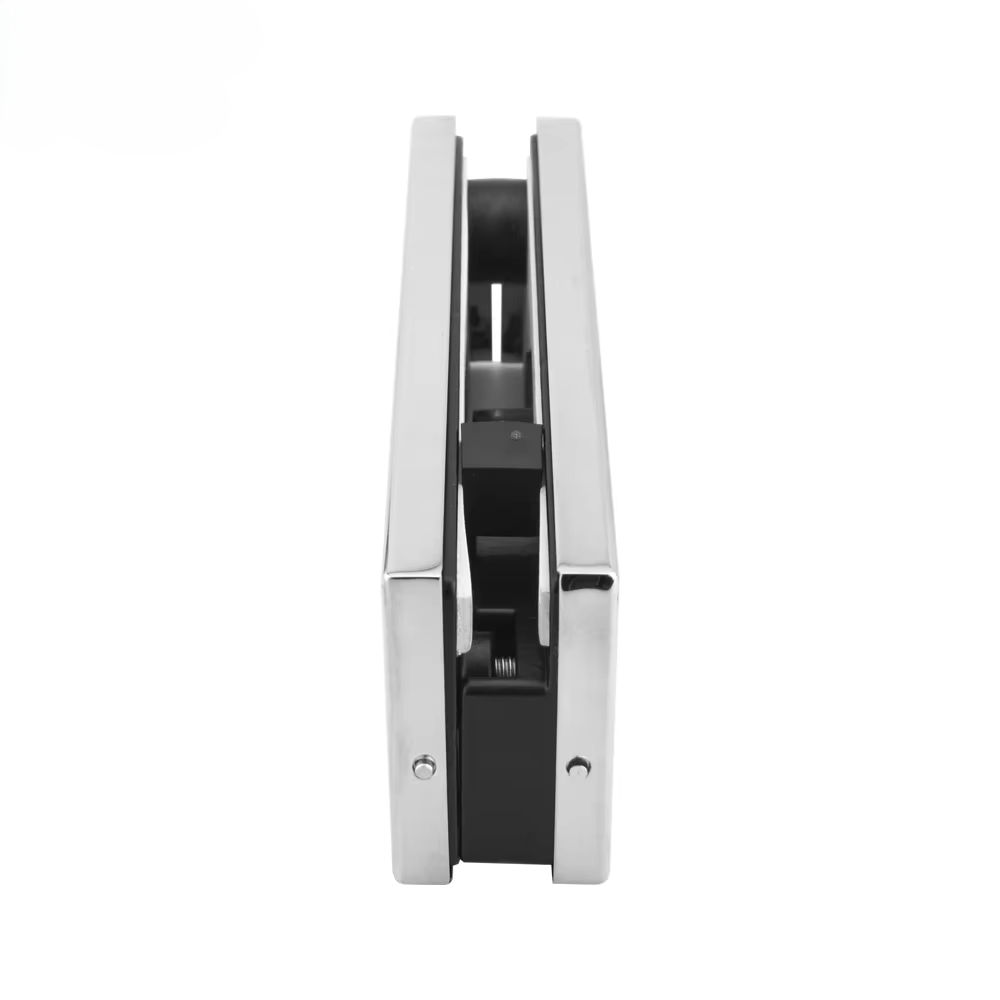
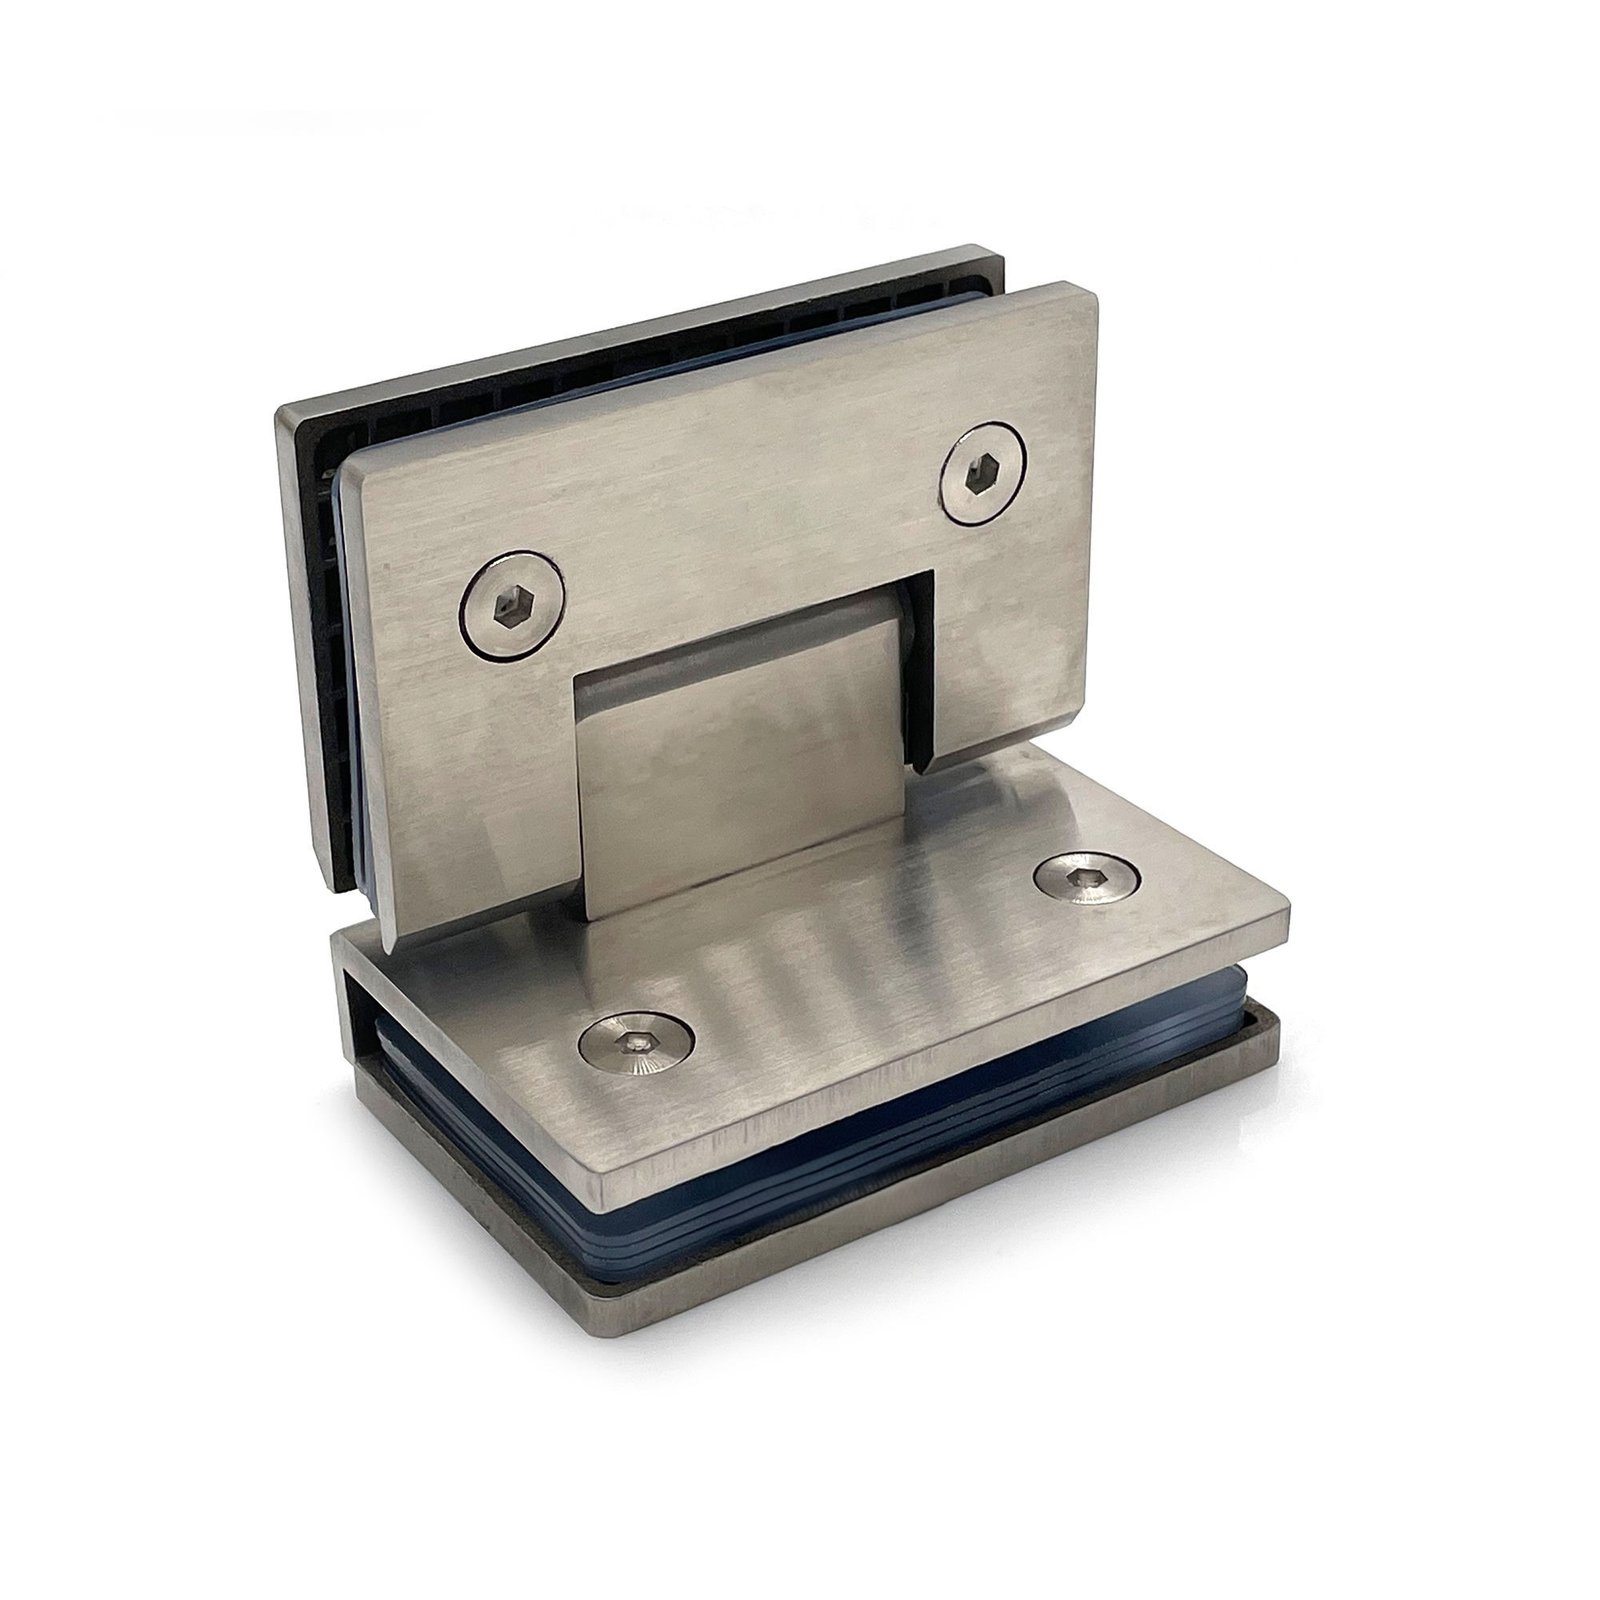
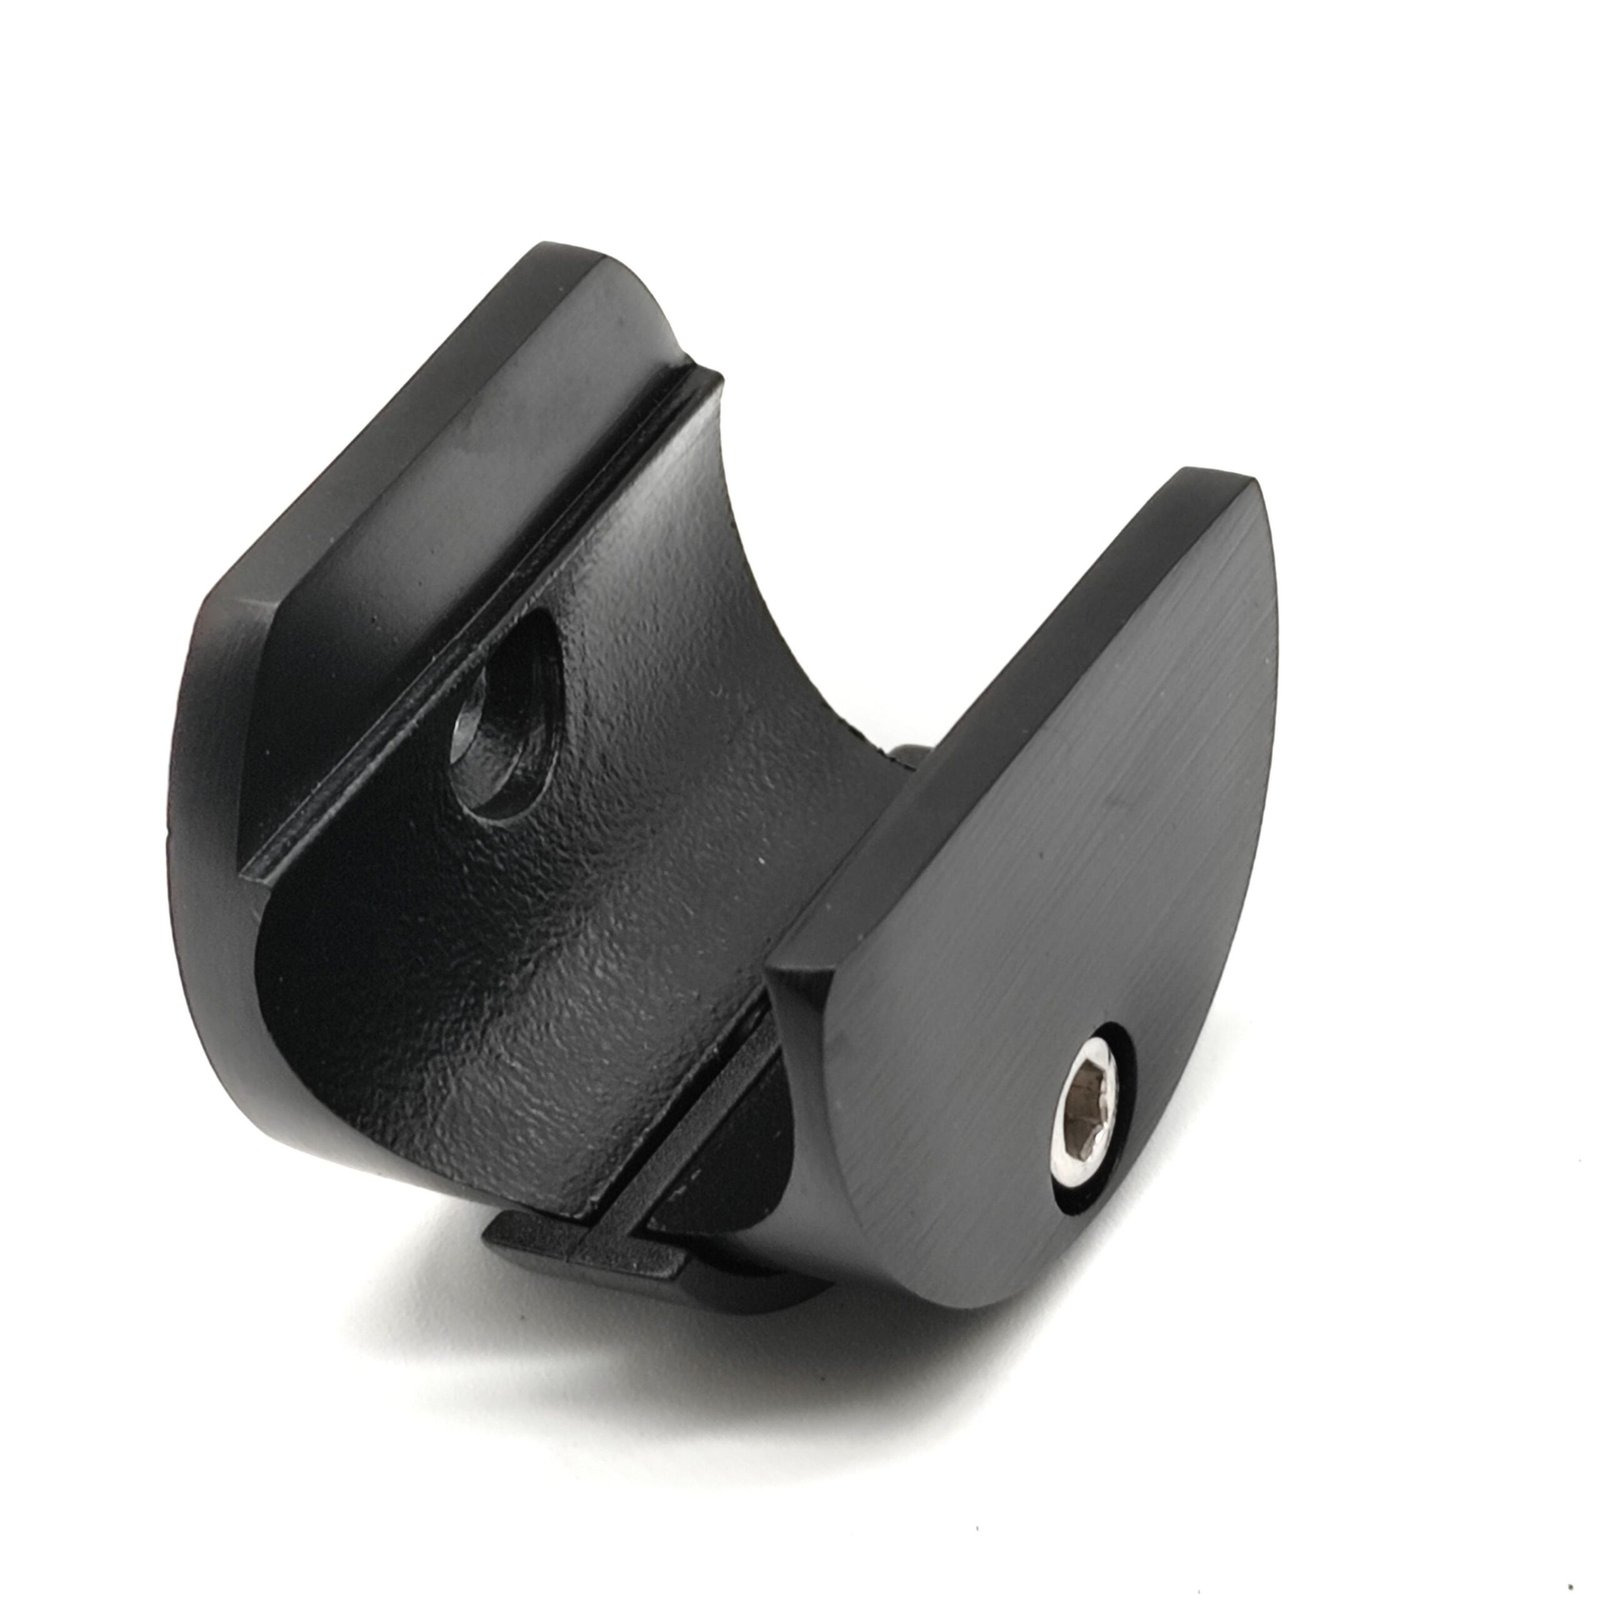
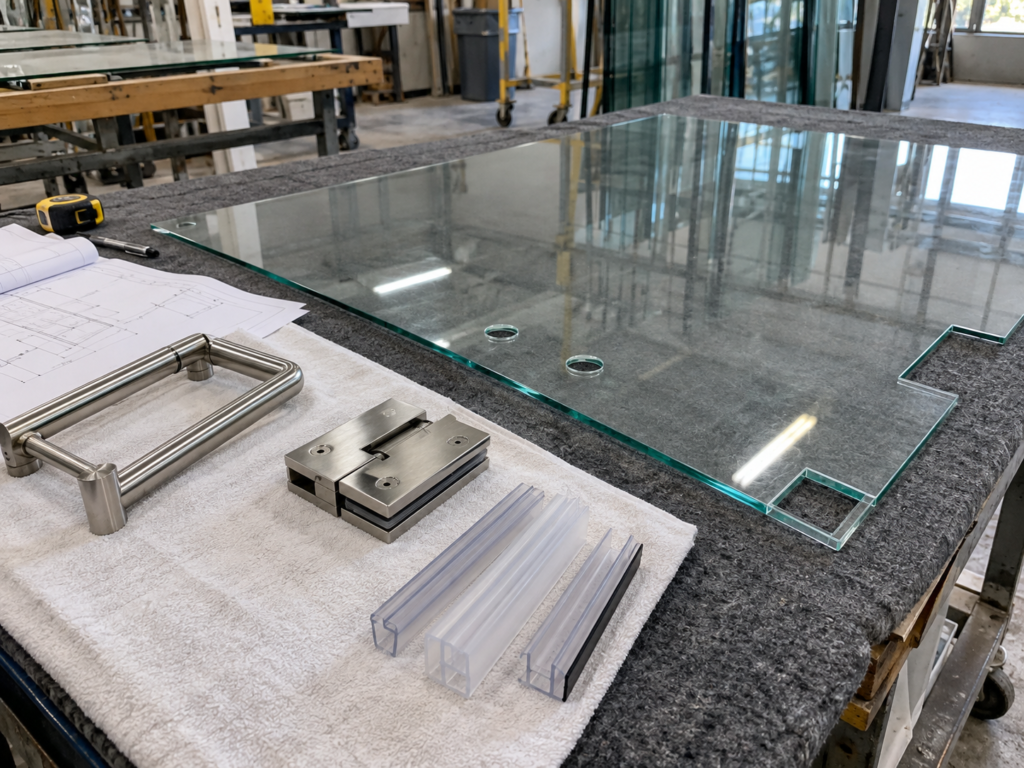
In a frameless shower enclosure, the hinge and glass preparation must be coordinated before the glass enters the tempering process.
The exact hinge model affects the holes, notches and cutouts required in the glass. If the glass is processed for one hinge and another visually similar model is supplied later, the hardware may no longer fit correctly.
That creates a serious problem because tempered glass should not be treated as material that can simply be redrilled, enlarged or reshaped on site.
For glass fabricators, shower enclosure companies and contractors, the safest rule is simple:
Freeze the exact shower hinge model and approved fabrication drawing before releasing the glass for tempering.
The goal is not only to make the hinge fit. The glass thickness, fixed-panel geometry, handle holes, seals and other drilled hardware should also be reviewed as one complete preparation package.
There Is No Universal Shower Hinge Cutout
A common mistake is assuming that similar-looking shower hinges use the same cutout.
They do not necessarily.
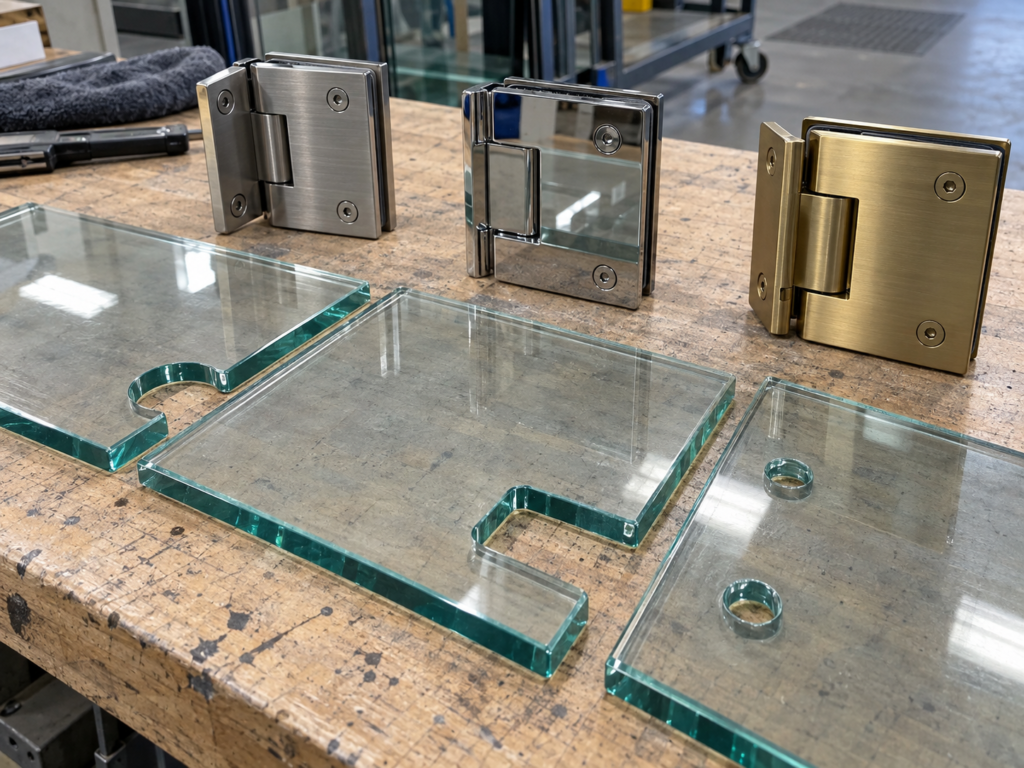
Two hinges with almost identical outside cover plates can still use different:
- notch geometry;
- hole diameter;
- hole spacing;
- edge distance;
- internal clamp shape;
- pivot position;
- gasket or bushing arrangement.
Even hinges from the same general product family may use different preparation depending on configuration.
For this reason, a glass factory should not reuse an old template simply because the new hinge looks similar.
The approved drawing should always correspond to the exact hinge model being supplied.
Common Shower Hinge Cutout Profiles
There is no single international cutout shape used by every shower hinge.
However, fabricators frequently encounter several recognizable preparation styles.
Mouse-Ear or U-Shaped Cutouts
Some hinge designs use a U-shaped edge notch with rounded internal features, often informally described as a “Mouse-Ear” cutout.
The rounded portions may provide clearance for internal hinge posts or clamping elements.
Rectangular Cutouts
Other hinge families use a more rectangular notch designed around a different internal clamping block.
Some product systems may use squared or model-specific corner geometry, while others require defined radii.
Hole-Based Preparation
Certain fittings rely mainly on drilled holes rather than a large edge notch.
The important point is not which profile is “better.”
The important point is:
The required shape, radius, hole pattern and clearance must follow the exact fabrication template for the selected hinge.
Do not substitute a generic radius or copied cutout from another product.

Identify the Hinge Configuration First
Before reviewing dimensions, confirm how the hinge connects the shower panels.
| Hinge Type | Glass Relationship | Main Preparation Concern |
|---|---|---|
| Wall-to-Glass | Door connected to wall | Door-side cutout and fixing pattern |
| Glass-to-Glass 180° | Door aligned with fixed panel | Door and fixed-panel relationship |
| Glass-to-Glass 135° | Door connected to angled panel | Angle, orientation and panel geometry |
| Glass-to-Glass 90° | Door connected to perpendicular panel | Corner clearance and panel position |
The hinge angle does not automatically determine the cutout dimensions.
The exact model drawing still controls the fabrication.
For glass-to-glass hinges, the moving door and fixed panel should be reviewed together rather than as two independent pieces of glass.
Confirm the Exact Model Before Processing Glass
A practical workflow is:
- Confirm the enclosure layout
- Confirm the glass thickness
- Select the hinge configuration
- Approve the exact hinge model
- Obtain the current technical drawing
- Confirm hinge orientation and quantity
- Review handles, seals and other fittings
- Release the glass for fabrication and tempering
Problems usually occur when the order is reversed.
If the glass is prepared first and the hardware is selected later, the supplier may be forced to find a hinge that matches an unknown or unsuitable cutout.
For repeat projects, record both the model code and the approved drawing revision.

What Should Be Checked on the Fabrication Drawing?
A shower hinge drawing should be treated as a fabrication document, not simply a product brochure.
Cutout Shape
Check the complete geometry of the notch or opening.
Do not focus only on the overall width and height.
Hole Diameter
Where through-holes are used, confirm the specified size.
Different hinges may require different clearance for fixing components, sleeves, bushings or inserts.
Hole Position
The distance from the glass edge to each hole center affects the final hinge position and pivot relationship.
Hole Spacing
Where several holes are used, confirm the center-to-center distance.
Cutout Depth and Corner Geometry
The depth of the notch and its internal geometry determine whether the hinge block can sit correctly.
Rounded features can help manage stress concentration in some glass preparations, but the required radius or corner design must still follow the approved hardware drawing.
Orientation
A correct cutout drawn or fabricated in the wrong orientation can still produce unusable glass.
This is especially important when left/right relationships or fixed-panel conditions differ.
Glass Thickness Is the Third Dimension of Compatibility
Cutout drawings mainly describe the glass in two dimensions.
The third dimension is the actual glass thickness.
The hinge, gasket system and glass thickness need to work together.
Before fabrication, confirm:
- actual door-glass thickness;
- fixed-panel thickness;
- hinge-approved glass range;
- manufacturer-specified gasket or isolation components.
Some hinge families support more than one glass thickness through their designed gasket system.
Others have a narrower specified range.
Do not assume that changing a gasket automatically makes one hinge suitable for every glass thickness.
An incorrect gasket arrangement can reduce effective clamping and contribute to door movement, slipping or poor alignment.
Coordinate Door Size, Hinge Quantity and Hinge Position
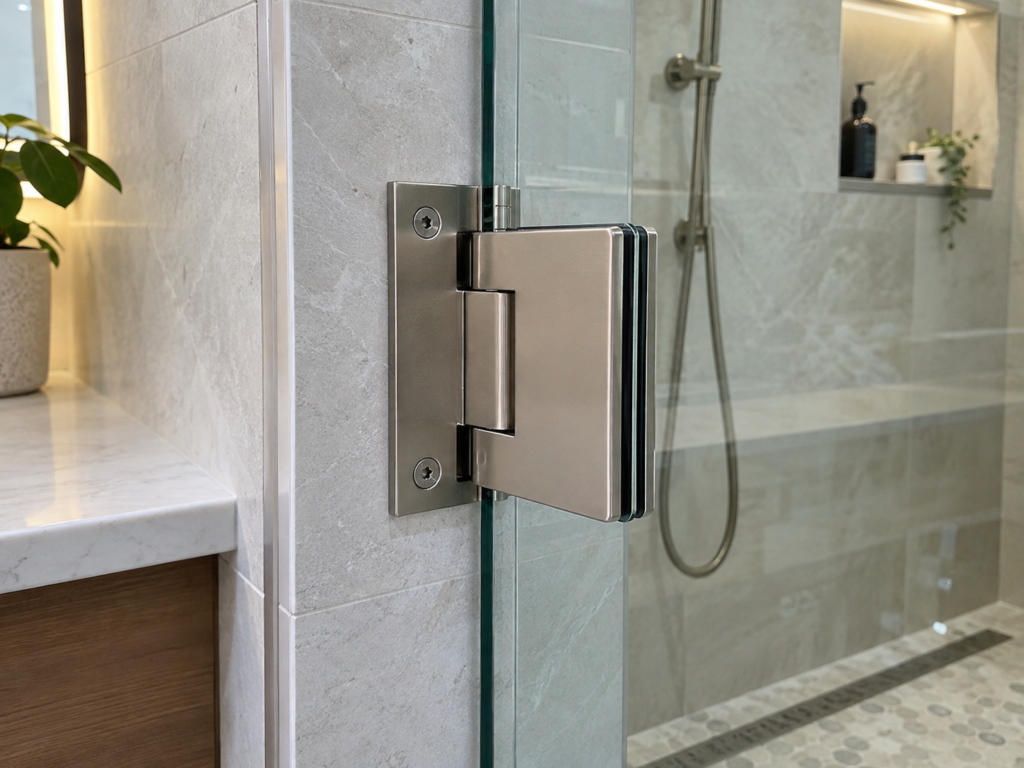
The cutout cannot be reviewed independently from the door itself.
Before processing, confirm:
- door width;
- door height;
- glass thickness;
- estimated door weight;
- number of hinges;
- vertical hinge positions.
A larger or heavier shower door may require a different hinge arrangement from a smaller enclosure.
Hinge positions should follow the approved hardware and enclosure design rather than a generic dimension copied from another project.
For heavier doors, confirm load suitability before the cutouts are released.
Glass-to-Glass Hinges Require Complete Panel Coordination
A glass-to-glass hinge may fit the moving door perfectly and still result in an incorrect enclosure if the fixed panel has not been coordinated.
Review:
- fixed-panel position;
- panel angle;
- door-to-panel gap;
- hinge orientation;
- glass thickness;
- final opening direction.
This is particularly important for 90°, 135° and 180° configurations.
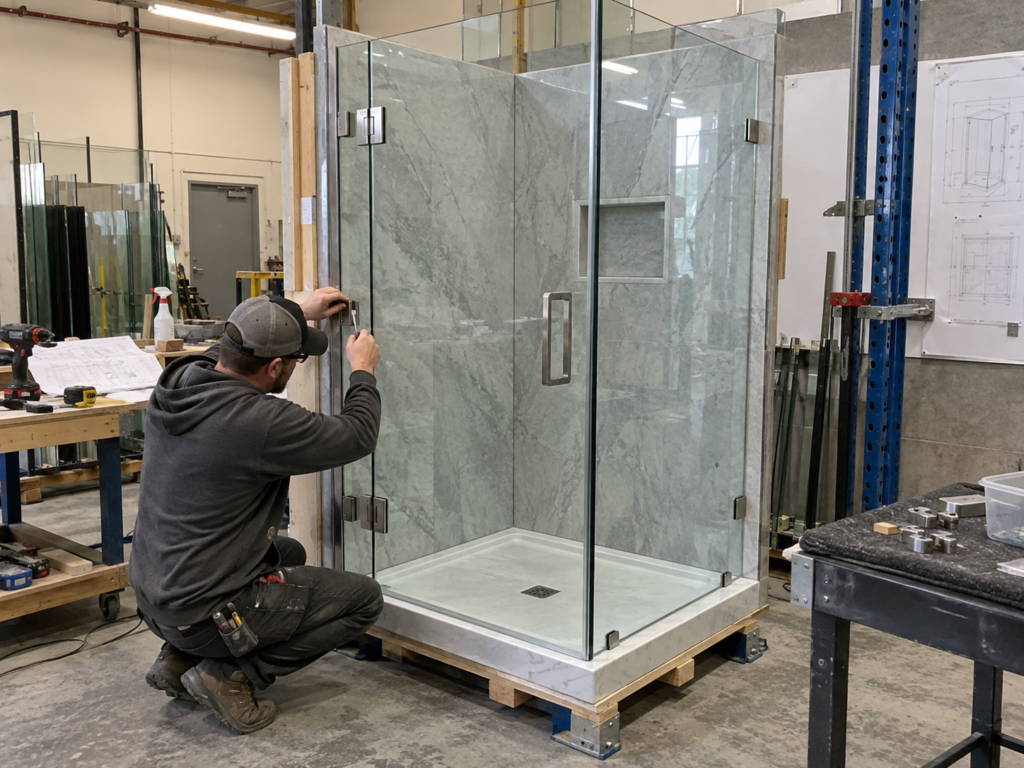
The hardware, door glass and fixed glass need to form one geometric system.
Coordinate the Hinge With Seals and Final Door Gaps
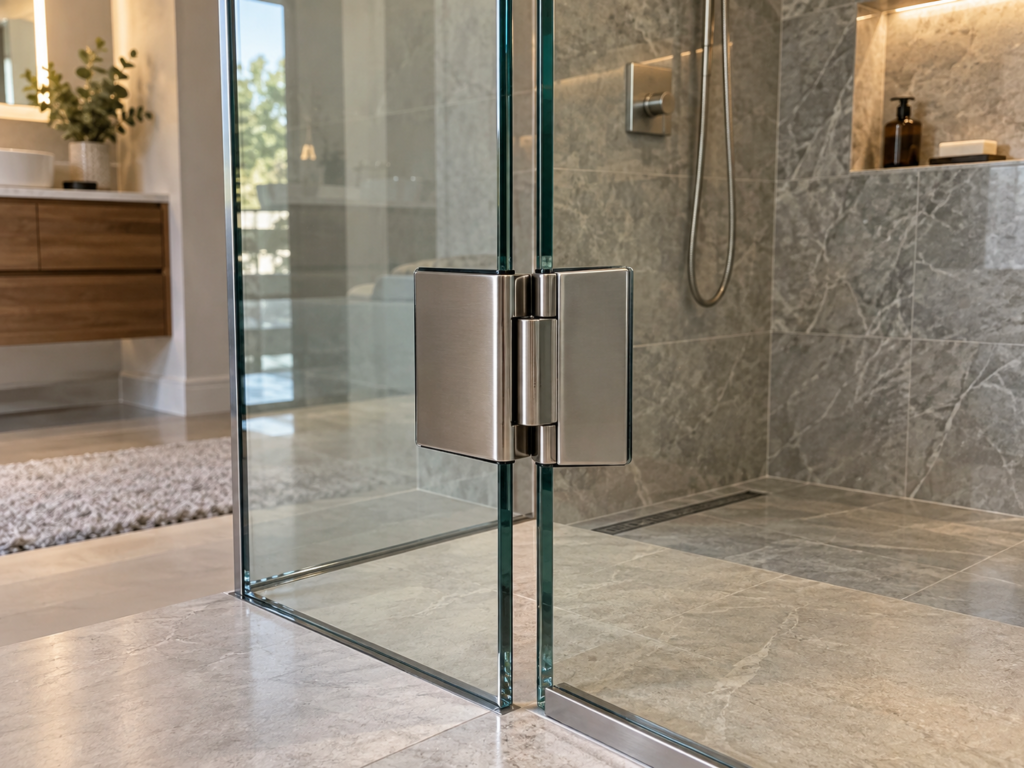
Shower enclosures also need to control water.
The final glass dimensions may need to accommodate:
- magnetic seals;
- side seals;
- bottom sweeps;
- hinge-side clearance.
A hinge can be installed correctly while the enclosure still performs poorly if the final door gap does not suit the selected seal profile.
There is no universal gap that works with every seal.
The final glass size should therefore be coordinated with both:
hinge geometry + seal system
before production.
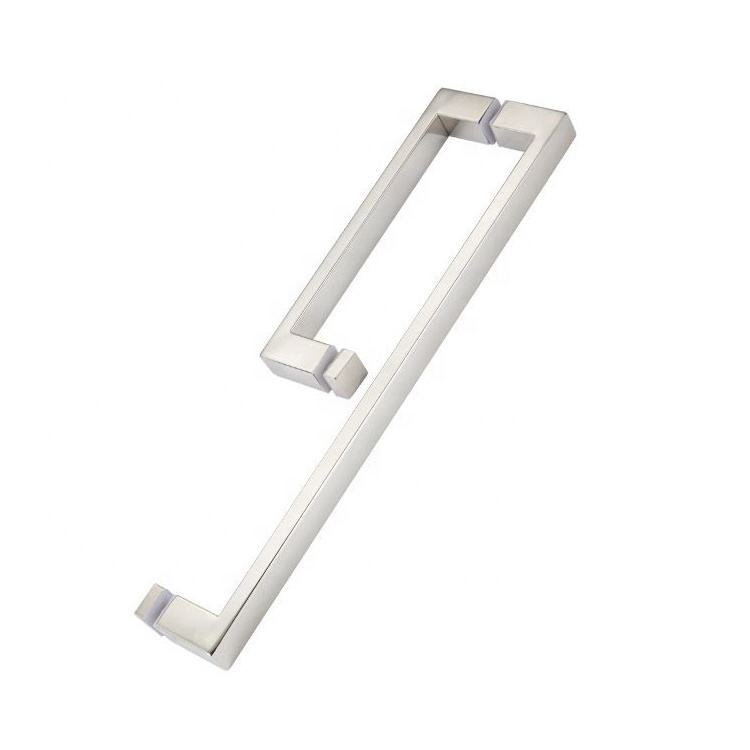
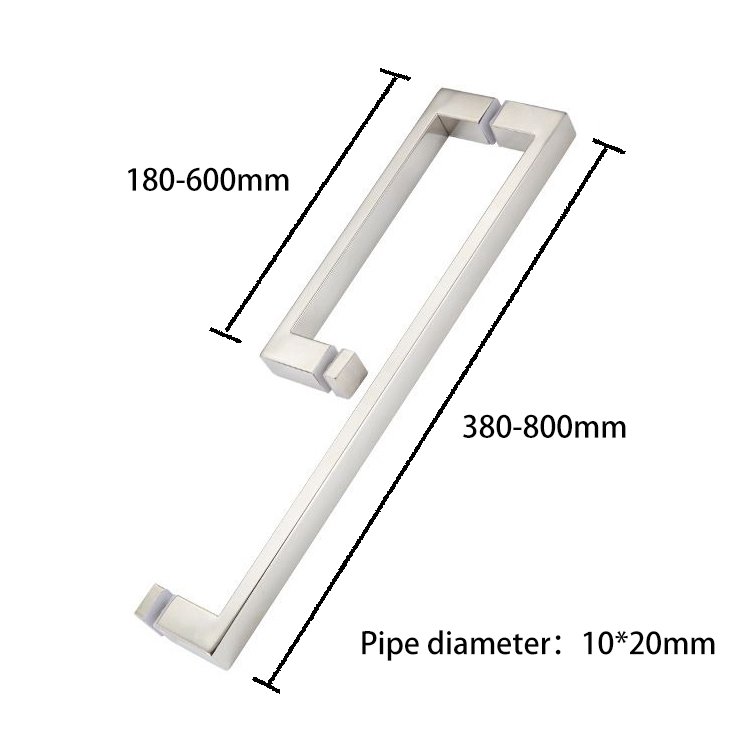
Confirm Handles and Other Drilled Hardware at the Same Time
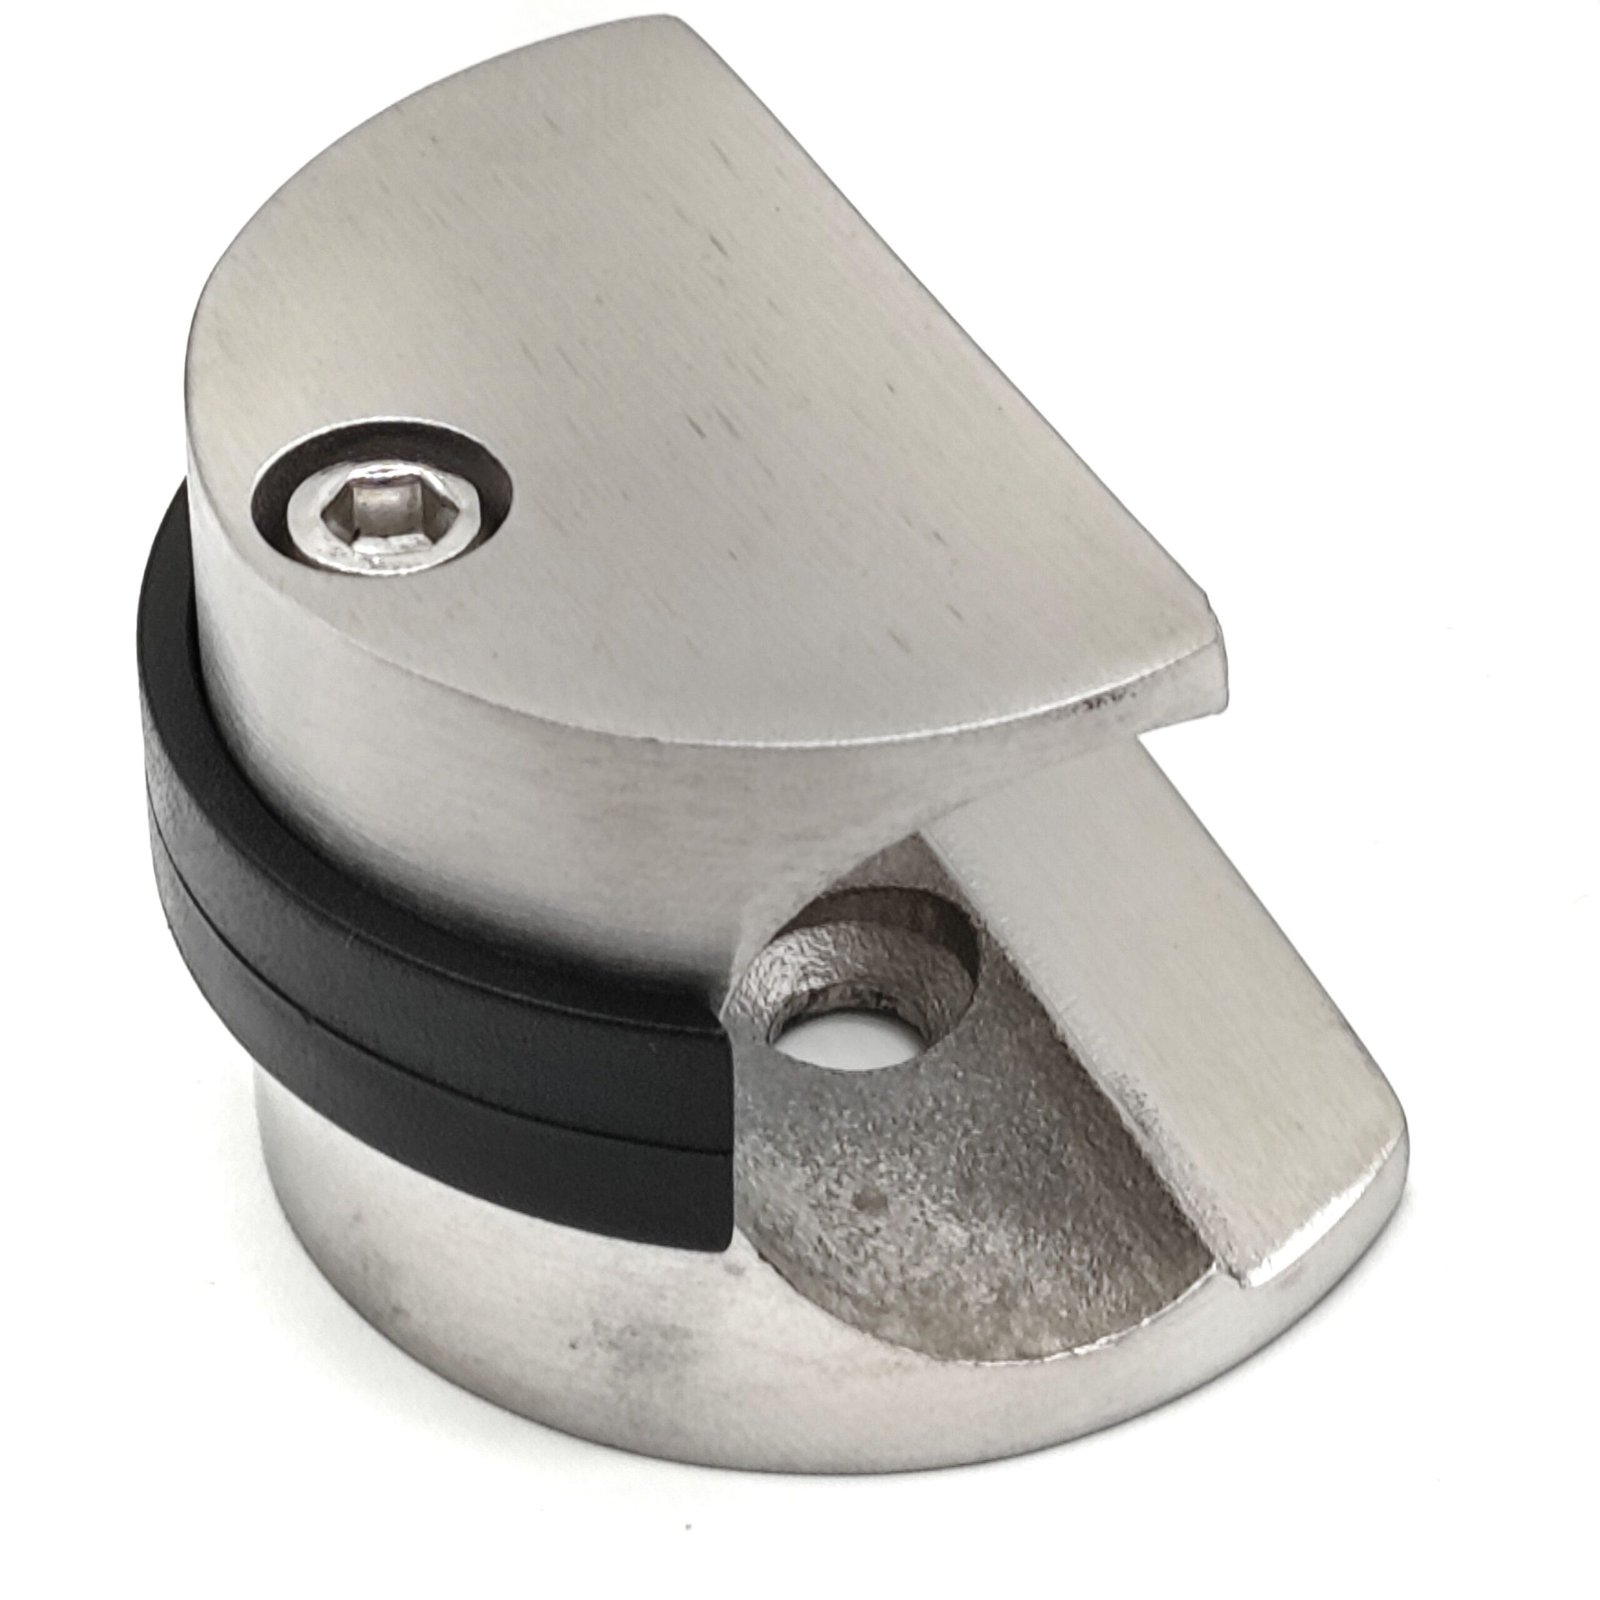
The pre-tempering review should include all fittings that require glass preparation.
This may include:
- pull handles;
- knobs;
- support bars;
- glass clamps;
- brackets;
- other drilled hardware.
A common mistake is approving the hinge cutout first and discovering later that the handle hole spacing was never confirmed.
A better approach is:
Complete one full hardware-and-glass preparation review before tempering instead of reviewing each fitting separately.
This reduces the chance of discovering a missing hole or incompatible fitting after the glass has already been processed.

Use Model-Specific Drawings, Not Photos or Old Templates
Product photos are useful for identification.
They are not fabrication drawings.
Before releasing glass, verify:
- exact model code;
- hinge configuration;
- glass thickness;
- orientation;
- latest approved drawing revision.
Even within a visually similar hinge family, another model or supplier may use different preparation.
If the hardware reference is uncertain, stop the glass release until the drawing is confirmed.
That is far less expensive than replacing incorrectly prepared tempered glass.
Sample Verification for Repetitive Projects
For a small one-off enclosure, the approved drawing may be sufficient.
For hotels, apartment developments or repeated shower enclosure production, sample verification can reduce much larger risks.
A practical process may include:
- approve the physical hinge sample;
- compare the sample with the drawing;
- check one prepared glass sample;
- assemble a trial enclosure where practical;
- verify gaskets and seals;
- then release repeat production.
The purpose is not to slow down production.
It is to prevent one small preparation error from being repeated across dozens or hundreds of panels.
Common Shower Glass Preparation Mistakes
1. Cutting the Glass Before the Exact Hinge Is Confirmed
This forces the hardware to match an unknown preparation.
2. Reusing an Old Drawing Because the Hinge Looks Similar
Appearance does not prove cutout compatibility.
3. Checking Only the Moving Door
Glass-to-glass systems also require the fixed panel to be reviewed.
4. Assuming One Gasket Makes the Hinge Universal
Glass-thickness compatibility depends on the actual product design.
5. Forgetting Handles and Seal Requirements
All hardware-related glass preparation should be reviewed before tempering.
6. Ignoring Drawing Orientation or Revision
The right cutout in the wrong orientation—or from an outdated drawing—can still cause production problems.
Pre-Tempering Shower Glass Checklist
| Item | Confirm Before Tempering |
|---|---|
| Enclosure layout | Final |
| Exact hinge model | Confirmed |
| Hinge configuration | Wall-to-glass / glass-to-glass |
| Glass thickness | Confirmed |
| Cutout and holes | Match approved drawing |
| Hinge orientation | Confirmed |
| Door dimensions | Final |
| Fixed-panel dimensions | Final |
| Hinge quantity | Confirmed |
| Pull-handle holes | Confirmed |
| Seal gaps | Coordinated |
| Other drilled fittings | Confirmed |
| Drawing revision | Latest approved version |
For repeated production, this checklist can become part of the fabrication-release process.
How Metech Supports Glass Fabricators and Shower Door Buyers
Metech Hardware works with selected production partners to support shower enclosure companies, glass fabricators, installers, contractors and distributors.
Depending on the selected hardware, we can help coordinate:
- hinge model confirmation;
- model-specific drawings where available;
- glass-thickness compatibility;
- gasket requirements;
- wall-to-glass and glass-to-glass configurations;
- hinge, clamp, handle and seal coordination;
- sample confirmation;
- finish and OEM requirements;
- repeat and bulk-order preparation.
For tempered shower glass projects, we recommend freezing the exact hardware model before the glass is released for fabrication.
FAQ
Is There One Standard Cutout for All Shower Hinges?
No. Cutouts vary by hinge model and manufacturer. Always use the drawing for the exact hardware being supplied.
Can Tempered Glass Be Drilled or Enlarged After Tempering?
Necessary holes, notches and cutouts should be completed before tempering. The project should not rely on later site modification of tempered glass.
Can Two Similar-Looking Hinges Use the Same Cutout?
Possibly, but never assume so. Compare the model-specific drawings first.
Do Wall-to-Glass and Glass-to-Glass Hinges Use the Same Cutout?
Sometimes related hinge models may use similar preparation, but this varies by product. Check the exact drawing for the selected configuration.
How Tight Should Shower Hinge Screws Be?
Follow the tightening procedure or torque specification for the exact hinge model. A universal torque value should not be applied across different products.
What Information Should I Send to Request a Cutout Drawing?
Provide the hinge model if known, enclosure layout, hinge configuration, glass thickness, quantity and relevant project drawings or photos.
Preparing Glass for a Frameless Shower Project?
Send us your shower layout, glass thickness, hinge configuration and target hardware model.
Metech Hardware can help review suitable shower hardware and coordinate model-specific technical information before the glass is released for processing and tempering.